Crochet That is supported by our community. When you buy through links on our site, we may earn an affiliate commission.
As an Amazon Associate, Crochet That earns from qualifying purchases.
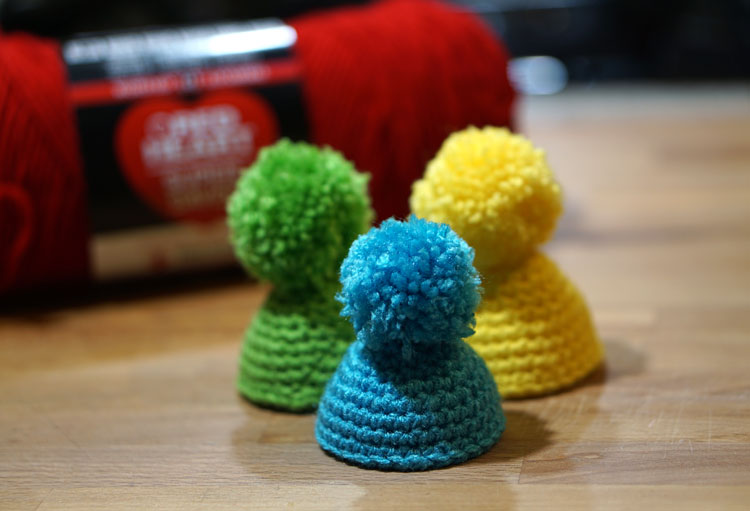
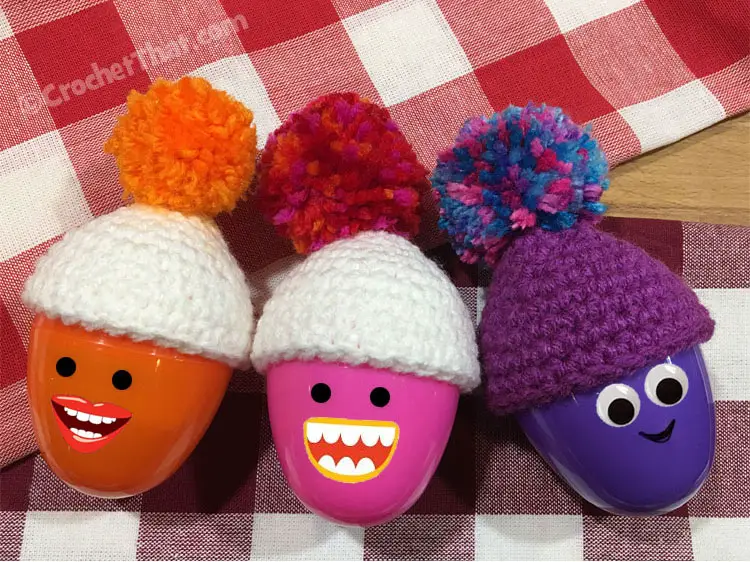
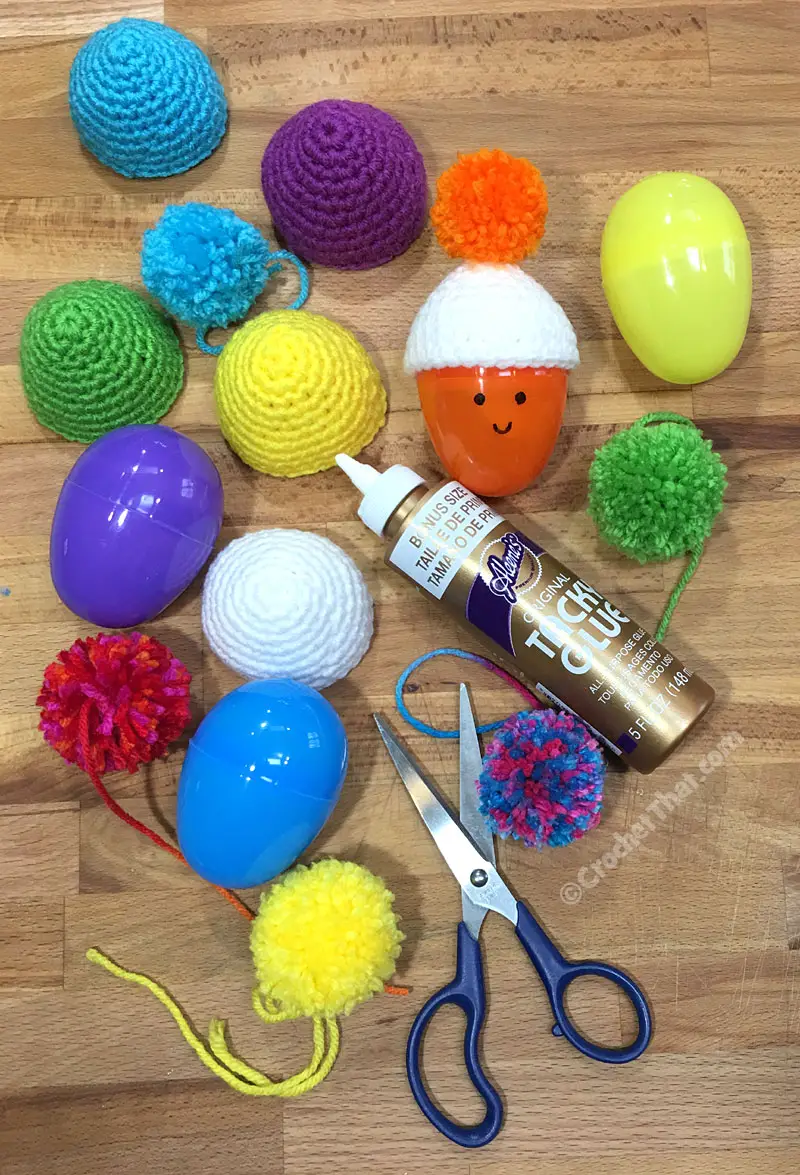
Get your free pattern to make these tiny hats to put on our plastic Easter Eggs. This crochet pattern whips up super quick and is great for beginners too. Use a nifty or just a plain ole’ piece of cardboard to make matching or coordinating pom poms. Dab a bit of Tacky Glue on the fat end of the plastic Easter egg to keep your hat secure and pop them into the Easter basket for loads of squeals on Easter morning.
I like to use Jumbo Plastic Eggs for this crochet project. The hats fit perfectly on them. The Jumbo size eggs measure 3″ x 2″. You could add Google eyes or even some silly mouth stickers to your plastic Easter Eggs.
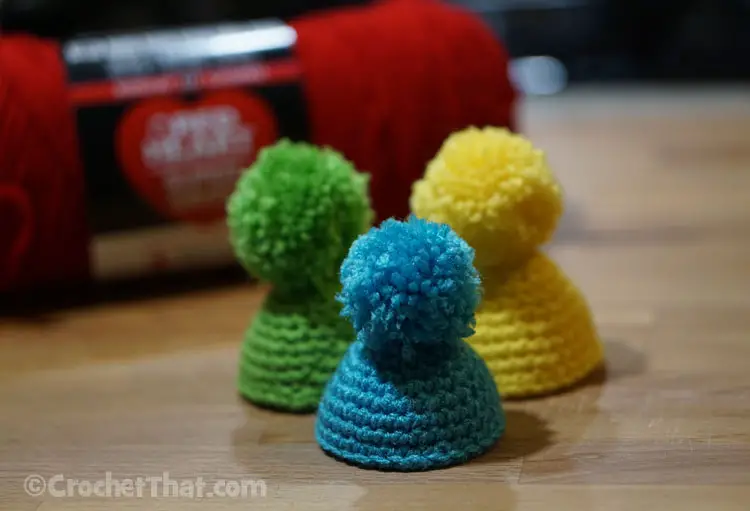

This crochet project works up super fast – well at least making one hat works up fast. If you are making a bunch then it will take a bit of time but you will definitely have them done for Easter. The pom poms are easy to make up and I have given you a variety of ways to make them at the bottom of the pattern. I even found someone on YouTube who figured out a way to make multiple pom poms all at once.
Once you get going, the hat portion should only take 15 minutes to crochet. The pom poms actually may take you longer to make unless you use the method below to make multiple pom poms at once.
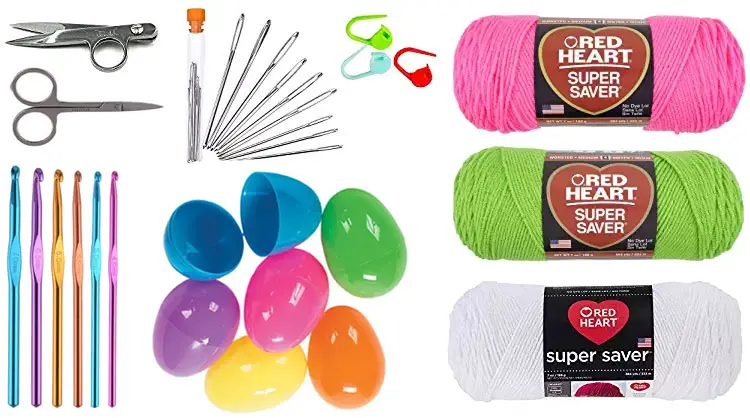
| Variety of Yarn | Crochet Hooks | stitch markers |
| Plastic Easter Eggs | Pom Pom maker | Tacky glue |
| Silly Mouth Stickers | Googly Eyes | Thread Nippers |
Crochet Stitch Abbreviations:
- sc = single crochet
- slst = slip stitch magic ring or circle
- (how to make a magic circle)
Easter Egg Crochet Hat Instructions
I used an E/4 – 3.5mm Crochet hook to make my crochet egg hats. That hook size makes the perfect size hat for the jumbo plastic eggs. If you don’t want to count each row, use a stitch marker to place at the beginning of each row.
Foundation Row: Chain one into an adjustable (magic) ring.
Row 1: 6 sc in the ring; skip the chain 1 and slst into the first sc.
Row 2: Chain 1; 2 sc in each stitch around; skip the chain 1 and slst into the first sc. (12 stitches)
Row 3: Chain 1; 1 sc in each stitch around; skip the chain 1 and slst into the first sc. (12 stitches)
Row 4: Chain 1; 1 sc in first stitch, 2 sc in second stitch, repeat around; skip the chain 1 and slst into the first sc. (18 stitches)
Row 5: Chain 1; 1 sc in each stitch around; skip the chain 1 and slst into the first sc. (18 stitches)
Row 6: Chain 1; 1 sc in first stitch, 1 sc in second stitch, 2 sc in third stitch; repeat around; skip the chain 1 and slst into the first sc. (24 stitches)
Row 7: Chain 1; 1 sc in first stitch, 1 sc in second stitch, 1 sc in third stitch; 2 sc in fourth stitch repeat around; skip the chain 1 and slst into the first sc. (30 stitches)
Row 8 – 10: Chain 1; 1 sc in each stitch around; slst into the first sc, skipping the chain 1. (30 stitches). Fasten off and weave in the yarn tail. I don’t weave in the starting yarn tail in. I just make sure it’s inside and cut it to about 1/2″. Since I glue my hat on my egg, it will be hidden. If you aren’t gluing your hat on you may want to weave it in.
Larger Hats: If you find that your hat isn’t long enough to cover the egg, just add more rows, following the row 10 instructions. This pattern is written to cover the fat part of the egg shell. If you want it to cover the longer part of the egg, you will definitely need more rows. If you find that adding rows with one sc in each stitch makes it too tight, do a few rows copying row 7 to make it wider.
4 Ways to Make Pom Poms
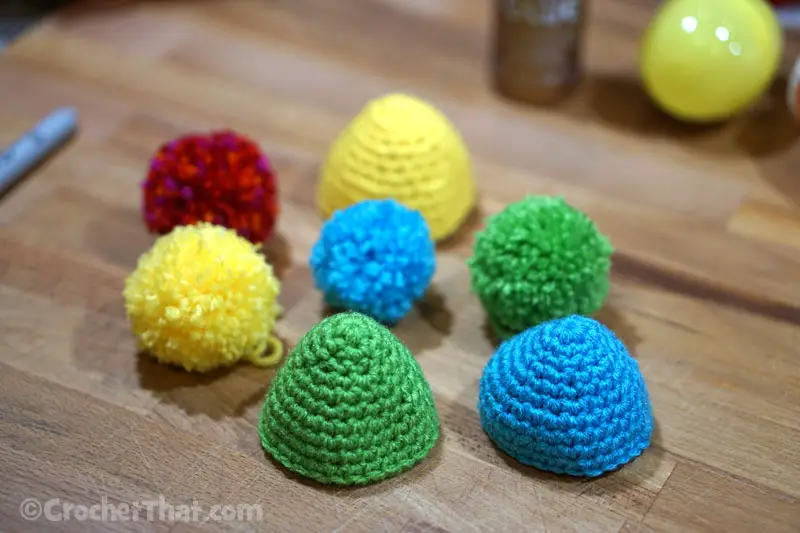
The Nutty Crafter gives you 4 ways to make pom poms – using a cardboard ring, fork method, rectangular cardboard, or plastic Pom Pom maker from Clover. The methods I like the best are the fork and the Pom Pom Maker. Instead of a fork you can use anything that gives you the size you want.
Using a Can Opener to Make Pom Poms
I actually use a can opener exactly like this one and keep it closed and wind the yarn around the handles. It seemed to be the perfect size for these tiny crochet hats and it was so much faster than any other method I tried.
TIP: Leave a 6″ yarn tail before you start winding your yarn around the can opener (or cardboard or Pom Pom Maker) and when you are finished leave another 6″ yarn tail. Once you are finished making your pom pom, thread one yarn tail in the yarn needle and push the needle through the top of the hat to the inside of the hat and remove the yarn from the needle. Thread the other yarn tail on the yarn needle and push it through the top of the hat in a different hole and remove the yarn from the needle.
Now you have both ends inside of the hat. Turn the hat inside out and tie the two tails together a couple of times and cut off to about 1/2″. This makes it super fast to add the pom pom to the hat and you don’t have to weave the ends in because the knot will be inside of the hat.

