Crochet That is supported by our community. When you buy through links on our site, we may earn an affiliate commission.
As an Amazon Associate, Crochet That earns from qualifying purchases.
Art Deco egg decorating is quite a popular craft form because of the smooth, oval shape of the egg and how easy they are to decorate and add fancy crochet stitch patterns. The art of egg decoration goes back to early civilizations when eggs were colored and used as gifts to celebrate the re-birth of life on the earth so it is a perfect time to crochet a fancy Art Deco design to cover your Ester and Spring eggs for decorating.
Ribbons can be added to the Art Deco crocheted egg to use for hanging the eggs on a mantel or outside on a tree limb.
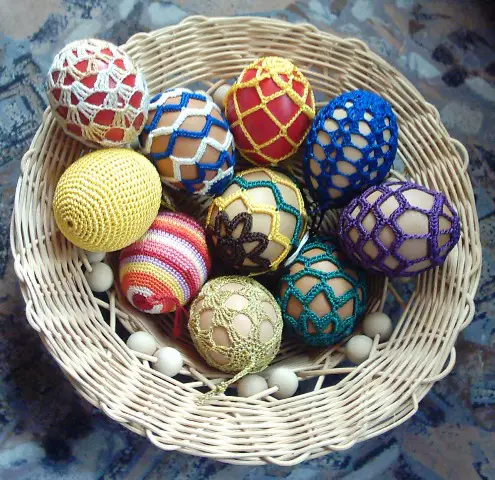
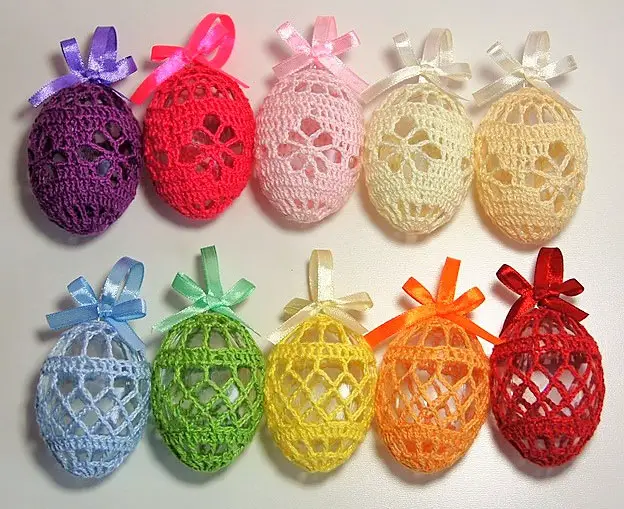
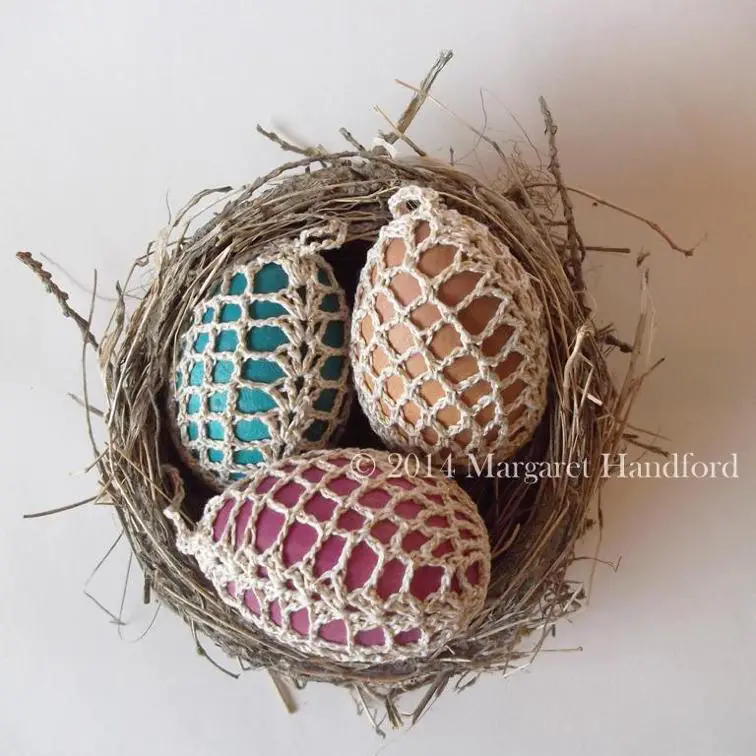
This Art Deco crochet egg pattern is available on Craftsy. Makes an attractive decoration to add to your ornaments or you can make it to be a gift to celebrate Spring, Easter, Christmas or another special event.
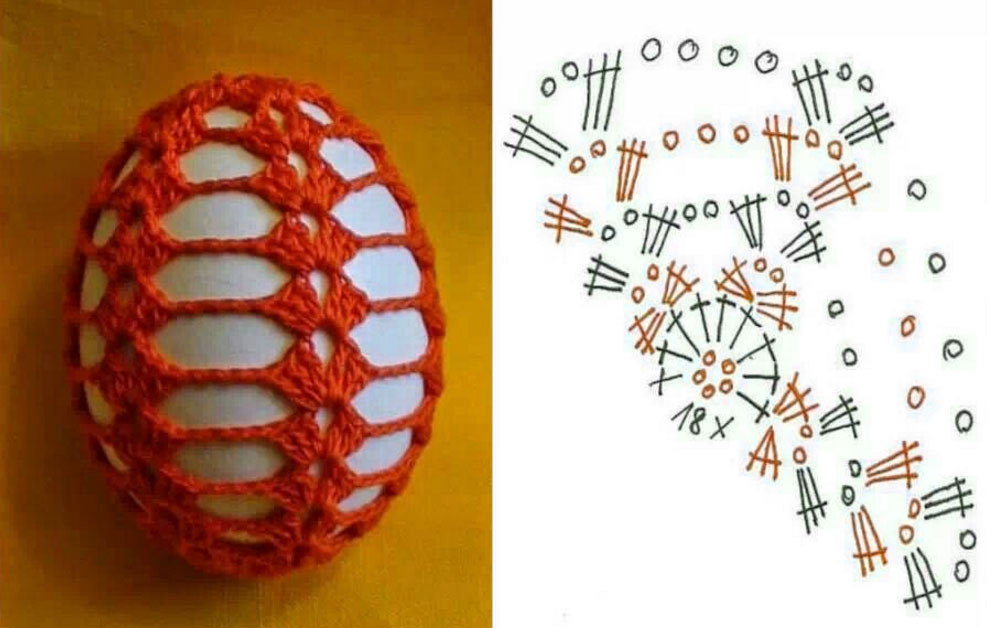
This free Art Deco Easter Egg crochet pattern was originally created by Priscilla Hewitt in 2001. This pattern is geared towards the more advanced crocheter and assumes you know the basics of crocheting.
The free printable PDF version of this pattern can be found here
Art Deco Easter Eggs Materials List:
- Size 10 white crochet cotton thread
- steel crochet hook size 5 for green egg
- steel crochet hook size 6 for pink egg
- 10″ of 1/8″ ribbon for each egg
- Easter Egg like these wooden eggs or egg colored ones
- Yarn needle
- thread nippers or embroidery scissors
Art Deco Easter Egg Gauge
Gauge: Round 1 (green egg) = about 1 1/8″ Gauge: Round 1 (pink egg) = about 1″
Crochet Terms:
- yo = yarn over
- trtr = triple treble crochet
- st = stitch
- ch = chain
- sc = single crochet
- sl st = slip stitch
Triple Treble Crochet (trtr): yo 4 times, insert hook in st, yo and draw through, (yo and draw through 2 loops) 5 times.
Green Egg Instructions
Foundation Round: Ch 6, join with a sl st in the first ch to form a ring
Round 1: Ch 7 to count as the first trtr and the first ch 1, (trtr, ch 1) 17 times in the ring; join with a sl st in the 6th ch of the beginning ch 7.
Round 2: (Sc in the next ch-1 sp, ch 3) 17 times, sc in the next ch-1 sp, ch 1; join with a hdc in the first sc to form the first ch-3 sp on the next round.
Rounds 3-4: Ch 1, sc in the first ch-3 sp, (ch 3, sc in the next ch-3 sp) 17 times, ch 1; join with a hdc in the first sc to form the first ch-3 sp on the next round.
Round 5: Ch 6 to count as the first trtr, trtr in the first ch-3 sp, ch 1, (2 trtr in the next ch-3 sp, ch 1) 17 times; join with a sl st in the top of the beginning ch 6.
Round 6: Sl st in the next trtr, sl st in the next ch-1 sp, ch 1, sc in the same sp, (ch 3, sc in the next ch-1 sp) 17 times, ch 1; join with a hdc in the first sc to form the first ch-3 sp on the next round.
Rounds 7-8: Repeat rounds 3-4.
Round 9: Ch 6 to count as the first trtr, (trtr in the next ch-3 sp) 11 times, insert egg into piece wide end first, (trtr in the next ch-3 sp) 6 times; join with a sl st in the top of the beginning ch 6.
Round 10: Ch 1, sc in the same st as joining, sc in each remaining trtr around; join with a sl st in the first sc. Fasten off, leaving an 18″ thread tail for sewing.
Finishing: Center the egg in the crocheted piece. Thread needle with the thread tail. Sew over and under the sc in round 10 twice, then pull tightly to gather the piece closed at the top of the egg. Knot thread securely. Weave in ends.
Optional: thread needle with ribbon; run needle under the top gathering. Tie a knot in the ribbon to form a hanging loop.
Pink Egg Instructions
Foundation Round: Ch 6, join with a sl st in the first ch to form a ring
Rounds 1-2: Work the same as rounds 1-2 of the green egg.
Rounds 3-6: Work the same as rounds 5-8 of the green egg.
Rounds 7-8: Work the same as rounds 5-6 of the green egg.

