Crochet That is supported by our community. When you buy through links on our site, we may earn an affiliate commission.
As an Amazon Associate, Crochet That earns from qualifying purchases.
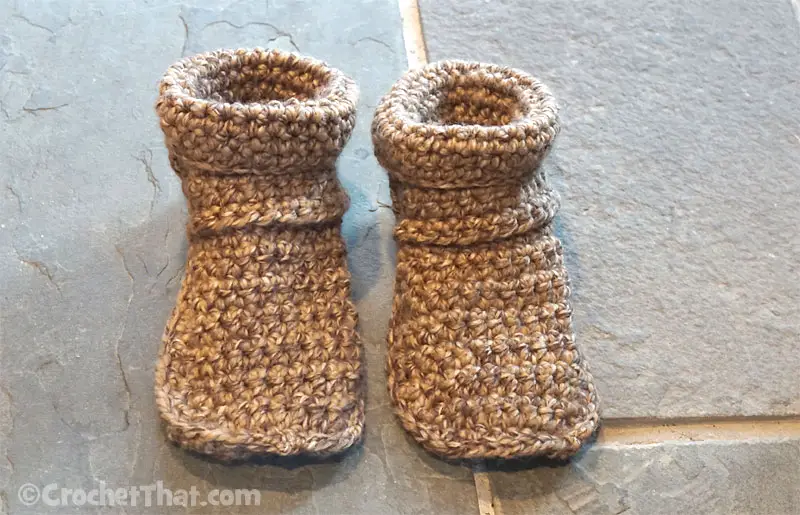
You may have seen the photo below of these chunk slipper boots on Pinterest and wanted to try making these slipper boots but after reading the pattern you were a bit confused – I know I was. I had to read it several times and “fix” a few rows until I understood what I was supposed to do. I am no crochet expert so maybe it was my lack of experience. Either way, I decided to write up my own instructions in my own wording to see if may help someone looking to make these slipper boots.
The designer, Erika Knight, did an amazing job creating the original pattern. Two of Erika Knight’s most popular crochet books are Simple Crocheting: A Complete How-to-Crochet Workshop with 20 Projects and Essential Crochet: Create 30 Irresistible Projects with a Few Basic Stitches
Other Erika Knight Crochet Books

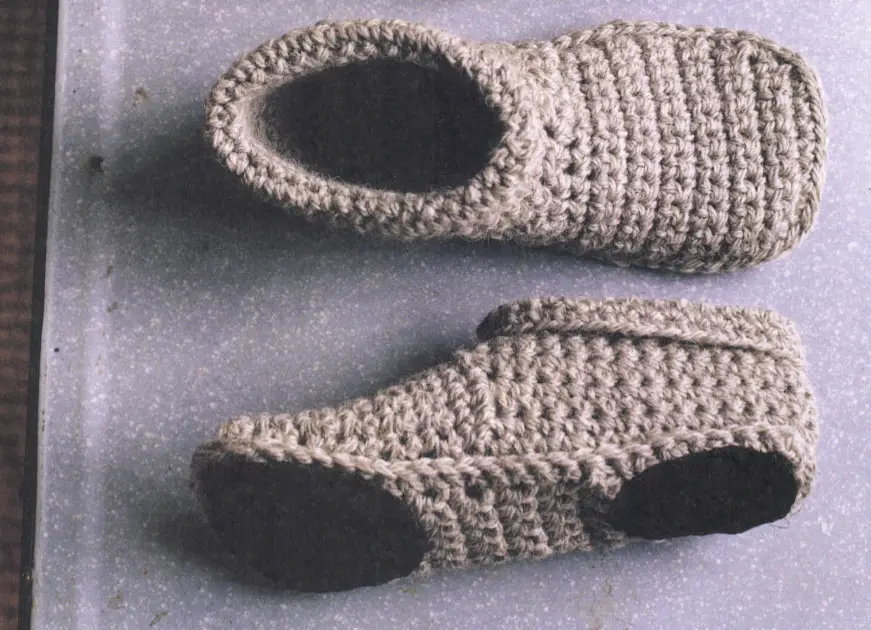
When I followed the pattern, my slipper boots didn’t come out exactly as the photo shows but that is the beauty of crochet and crafting general – to make it your own. The type of yarn you use in a project, how tight or loose you make your stitches, the hook you use, and your own personal style decides what the finished project will look like.
You can find the original pattern here and you can decide if my instructions will help or if the original pattern is good enough for you to follow. My instructions are just to help in certain areas of the pattern in hopes of making it clearer. I hope it helps someone who is making these slipper boots.
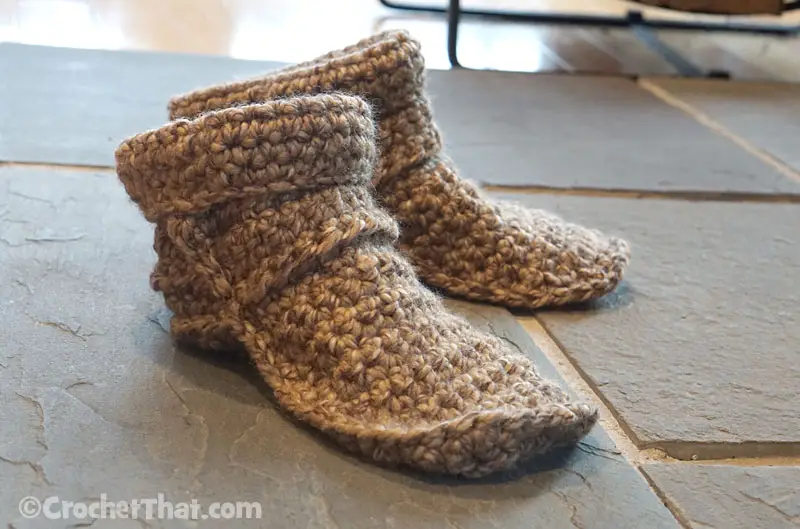
I think they came out super cute. Any elf would be happy to wear these boots!
Materials I Used:
- Lion Brand Thick and Quick Chunky Yarn (Toffee)
- Size 10 crochet hook (she suggested a 10-1/2 hook)
- Scissor Nippers
- Blunt Yarn Needle
My Chunky Slipper Boot Instructions
I didn’t add any pads to the bottom of my slipper boots that was shown in the pattern. I didn’t have any leather pieces at the time I made these slipper boots. I think they would probably last longer if you add some type of padding to the bottom so I may add that later. Even if you don’t have leather you could sew on a piece of felt cut in the shape of the heel, anti-skid gripper fabric, or slipper grippers.
Crochet Stitches Abbreviations:
- sc = single crochet
- hdc = half-double crochet
- dc = double crochet
- trc = triple crochet
- sc2tog = sc 2 together
- slst = slipstitch
How to Decrease (used for sc2tog): begin your stitch as normal by putting the hook through one stitch, pull the yarn through and do not complete the stitch but put your hook through the next stitch and pull through. Now, yarn over and pull through both of the loops you just added to your hook. To complete the sc2tog, continue to pull through the remaining loops. These slipper boots are made in two pieces – the upper and the sole.
Crochet The Upper
The original pattern started with rounds and changed to rows. I am just labeling all of mine as rounds.
Make 2
Base Ring: Chain 31 and join with a slst in the first chain to form the ring. Make sure you don’t twist the chain before you join.
Round 1: Chain 1, 1 sc in the same place as the slst, 1 sc in each of the remaining chains to the end. Finish the round with a slst in the first sc (31 sc). Do not turn.
Round 2: Chain 1, 1 sc in the same place as the slst, 1 sc in each of the remaining sc to the end. Finish the round with a slst in the first sc (31 sc). Do not turn.
Round 3 – 6: Repeat last round. No not turn at the end of each round.
Round 7: Repeat last round. Chain 1. Turn. (31 sc)
Round 8: Working in back loop only, 1 sc in each of the sc to the end. Chain 1. Turn. (31 sc)
Round 9: Working in both loops, sc2tog, 1 sc in each sc to last 2 sc, then sc2tog. Chain 1. Turn. (29 sc)
Round 10 & 11: 1 sc in each sc to end. Chain 1. Turn. (29 sc)
Round 12: Working in back loop only, 1 sc in each sc to last sc, 2 sc in last sc, then work 11 sc across the gap you created. Join with a slst to the first sc. Chain 1. Do not turn. This part was confusing to me or maybe I read the pattern wrong. The pattern seems to fail to mention that somehow you have to sew or crochet this gap closed. I ended up using a yarn needle after the upper was completed to close the gap. You will want to do this before you crochet the upper to the sole.
Round 13: 1 sc in the same place as the slst, 1 sc in each sc to end, join with a slst to the first sc. Chain 1. Turn. (14 sc)
Round 14: Working in both loops, 1 sc in each of next 14 sc. Chain 1. Turn. (14 sc)
Round 15, 16, 17: Repeat row 14. Chain 1. Turn. (14 sc)
Round 18: 1 sc in each stitch to the last 2 sc, sc2tog. Chain 1. Turn. (13 sc)
Round 19: 1 sc in each stitch to the last 2 sc, sc2tog. Chain 1. Turn. (12 sc)
Round 20 & 21: 1 sc in each sc to end. Chain 1. Turn. (12 sc)
Round 22: 1 sc in each stitch to the last 2 sc, sc2tog. Chain 1. Turn. (11 sc)
Round 23: 1 sc in each stitch to the last 2 sc, sc2tog. Chain 1. Turn. (10 sc)
Round 24: 1 sc in each stitch to the last 2 sc, sc2tog. Chain 1. Turn. (9 sc)
Round 25: 1 sc in each stitch to the last 2 sc, sc2tog. Chain 1. Turn. (8 sc) Fasten off and turn right side out.
Crochet The Sole
Make 2
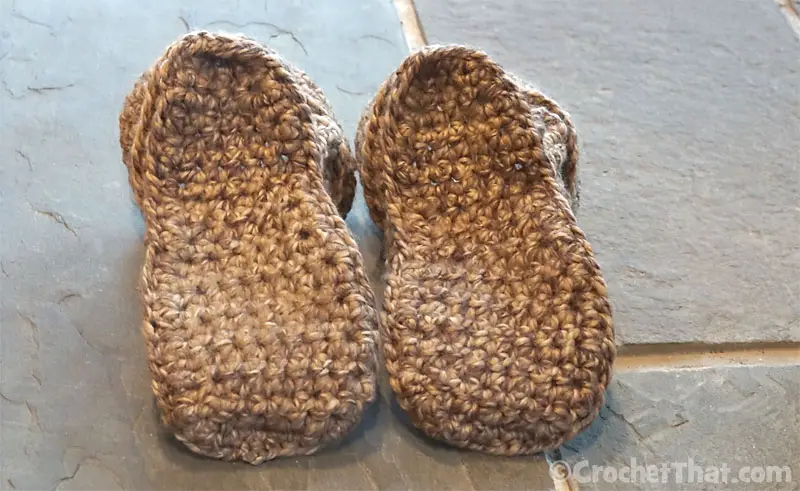
Foundation Chain: Chain 5.
Row 1: 1 sc in second chain from hook, 1 sc in each remaining chain to end. Chain 1. Turn. (4 sc)
Row 2: 1 sc in each sc to end. Chain 1. Turn.
Row 3: 2 sc in first sc, 1 sc in each sc to last sc, 2 sc in last sc. Chain 1. Turn. (6 sc) Repeat row 2 until sole measures 5-1/4″ from beginning. Chain 1. Turn.
Next row: 2 sc in first sc, 1 sc in each sc to last sc, 2 sc in last sc. Chain 1. Turn. (8 sc) Repeat row 2 until sole measures 9″ from beginning. Chain 1. Turn.
Next row: sc2tog, 1 sc in each sc to last 2 sc, sc2tog. Chain 1. Turn. (6 sc)
Next row: sc2tog, 1 sc in each sc to last sc, sc2tog. Fasten off. (4 sc) Weave in all loose ends on upper and sole (or you can wait until the entire slipper boot is finished, whichever is easier)
Sew Upper to Sole
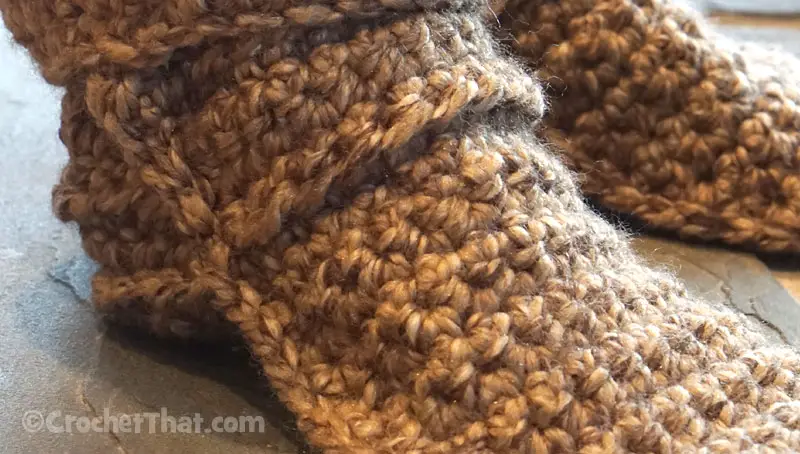
Toe Area Tip: Pin sole to upper with wrong sides together, easing to fit around the toe. The upper will be wider at the toe than the toe of the heel so you need to space it evenly (or pin it) as you crochet the upper to the sole. When you crochet the toe area, you will need to “fudge” a bit to make it fit. What I did was to crochet in one stitch of the upper/toe and then put the hook in the next upper sc and then put the hook through the same sc I just worked and work a sc. That way there are two sc in one sc of the heel in at least three places but individual sc in all of the sc of the upper. Join yarn with a slst to the center of the heel, inserting the hook through both layers.

