Crochet That is supported by our community. When you buy through links on our site, we may earn an affiliate commission.
As an Amazon Associate, Crochet That earns from qualifying purchases.
You are going to just fall in love with these Sweetheart cupcakes. These Crochet Sweetheart Cupcakes look good enough to eat. You will swear they are real cupcakes and not crocheted cupcakes. They would be the perfect project to make for a child who likes to play with pretend food or even for a Valentine’s Day gift.
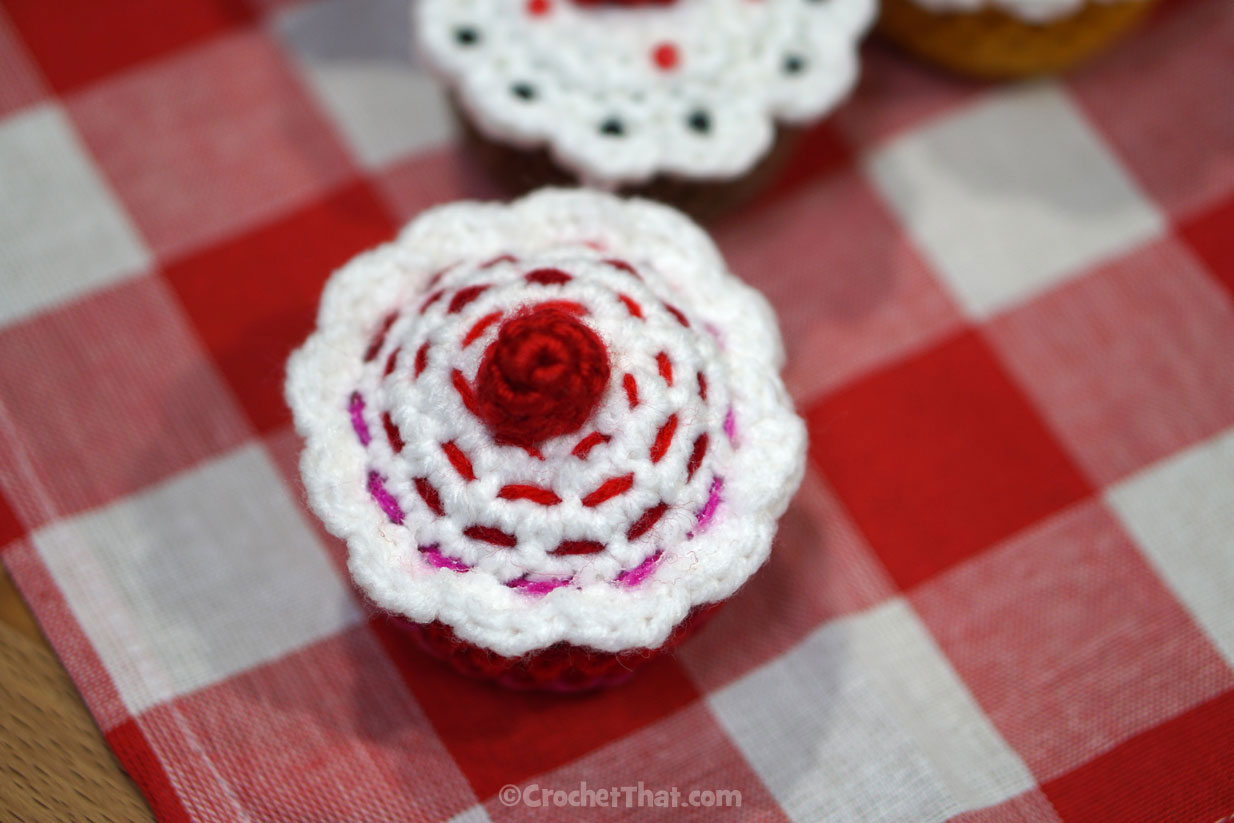
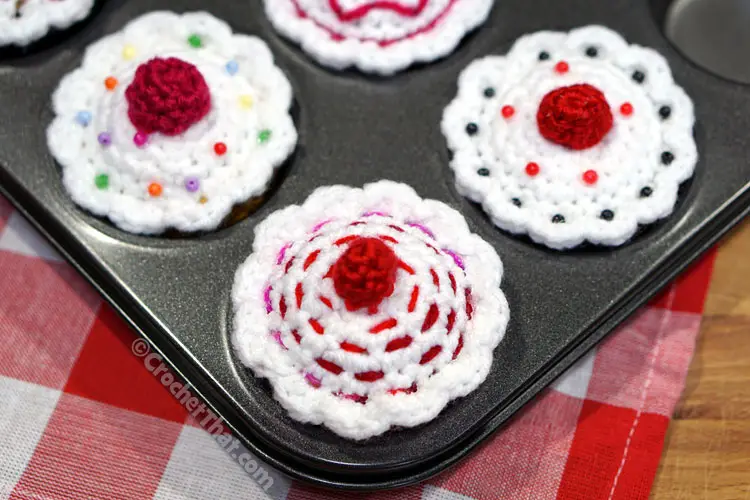
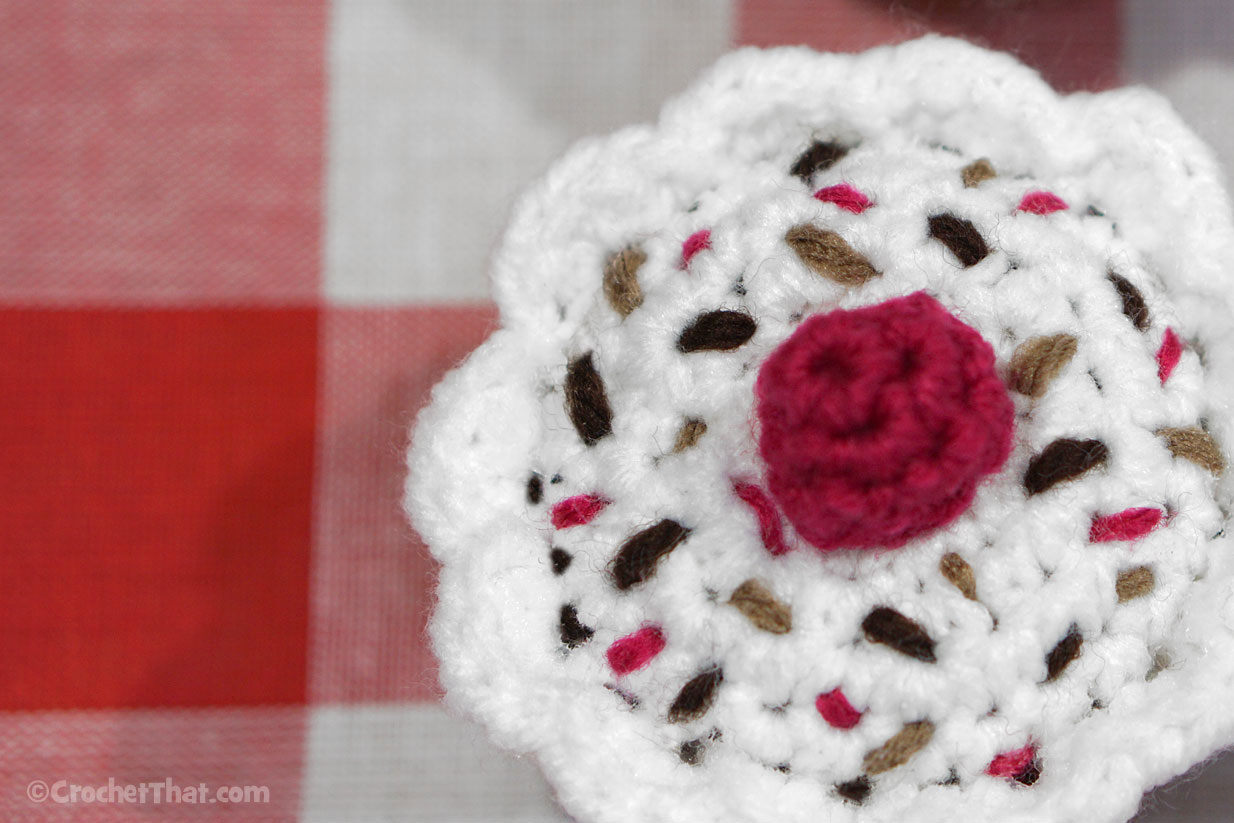
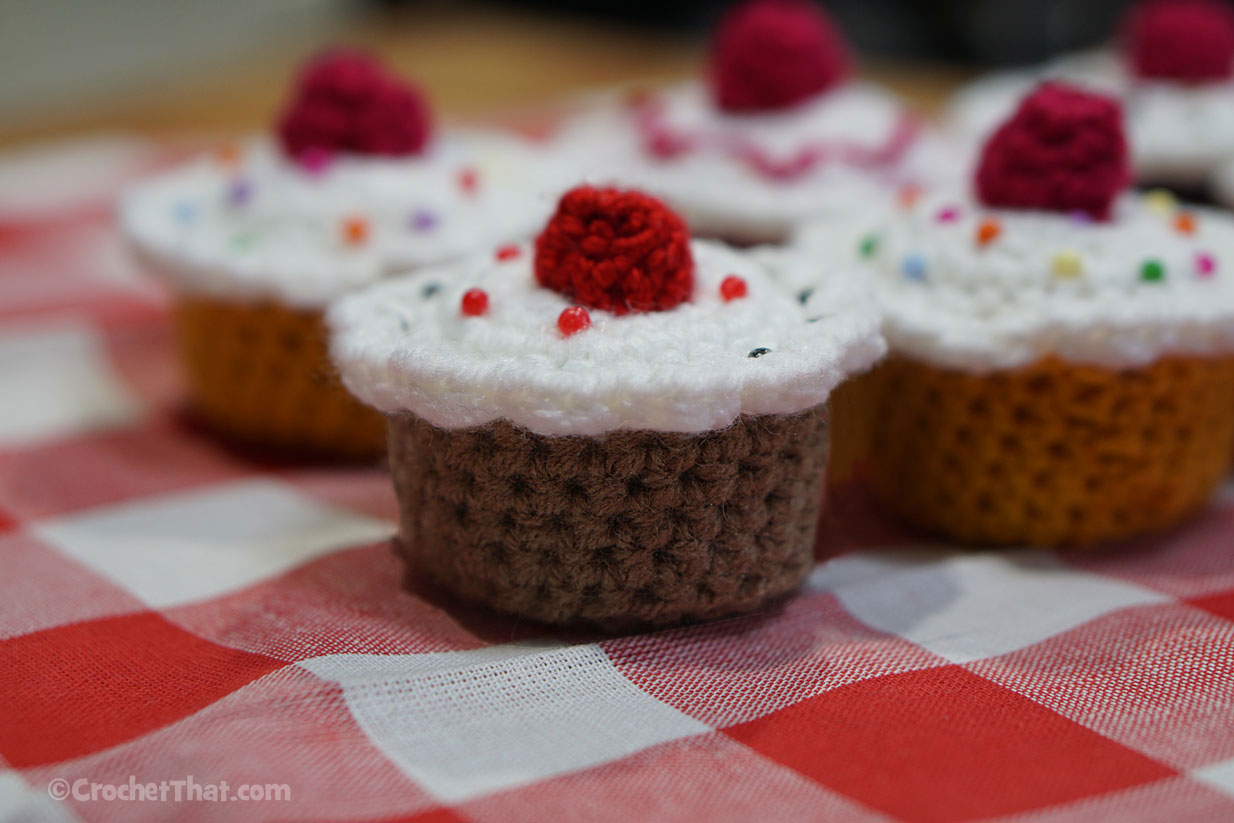
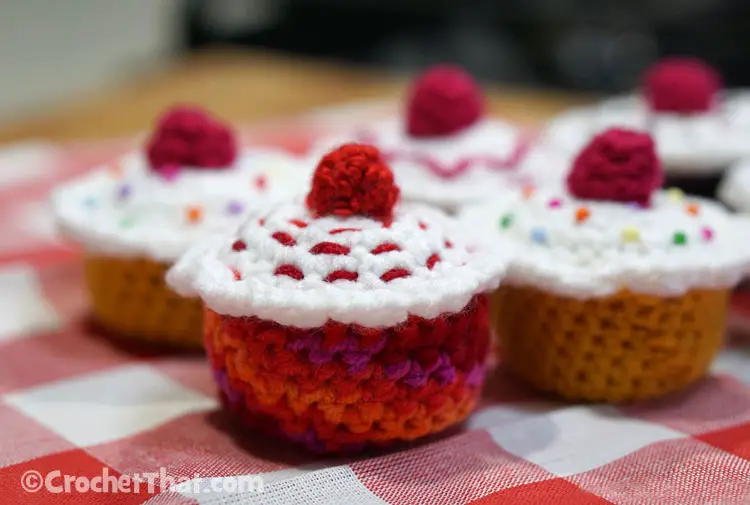
Now that I’ve made these sweetheart cupcakes, every time I walk by the pan I think they are real cupcakes and I want to eat them! I used the original cupcake crochet pattern found on Repeat Crafter Me (see below) to make my cupcakes. I decided to give my cupcakes all different looks. I crocheted all of the tops using white yarn and used a different color yarn on the bottom of 4 of them to make them look like they were a yellow cupcake, dark chocolate cupcake, milk chocolate cupcake, and red velvet cupcakes. For the red velvet cupcakes I used red yarn for one and a multi-color yarn for the other and they came out very nice.
I had a lot of fun crocheting these cupcakes and thinking how excited my young grand daughters are going to be when I show them what I made. I am also going to make real cupcakes and put them all in a cupcake holder and bring them over for Valentine’s Day. Boy are they going to be surprised when they open the top and see the crochet cupcakes. Will they tell the difference? Who knows but it sure will be a lot of fun to see their faces.
Crochet Sweetheart Cupcakes Supplies:
These are the items I used to make my crochet cupcakes
- Red Heart “Super Saver” yarn in red, gold, white multi, chocolate and dark brown
- small beads (embroidery needle if you are sewing them and regular thread)
- yarn needle (I like this set because it comes with a storage case)
- size G (4.0 mm) crochet hook
- Poly-Fil Stuffing (or what we call fluff)
- Scissors
- Tacky Glue (optional)
- Cupcake Carrier (for effect, optional but boy are these handy)
You can use larger hook if you want to supersize your cupcakes. Also, the tops of mine didn’t come out as puffy as the original pattern because I left off one row.
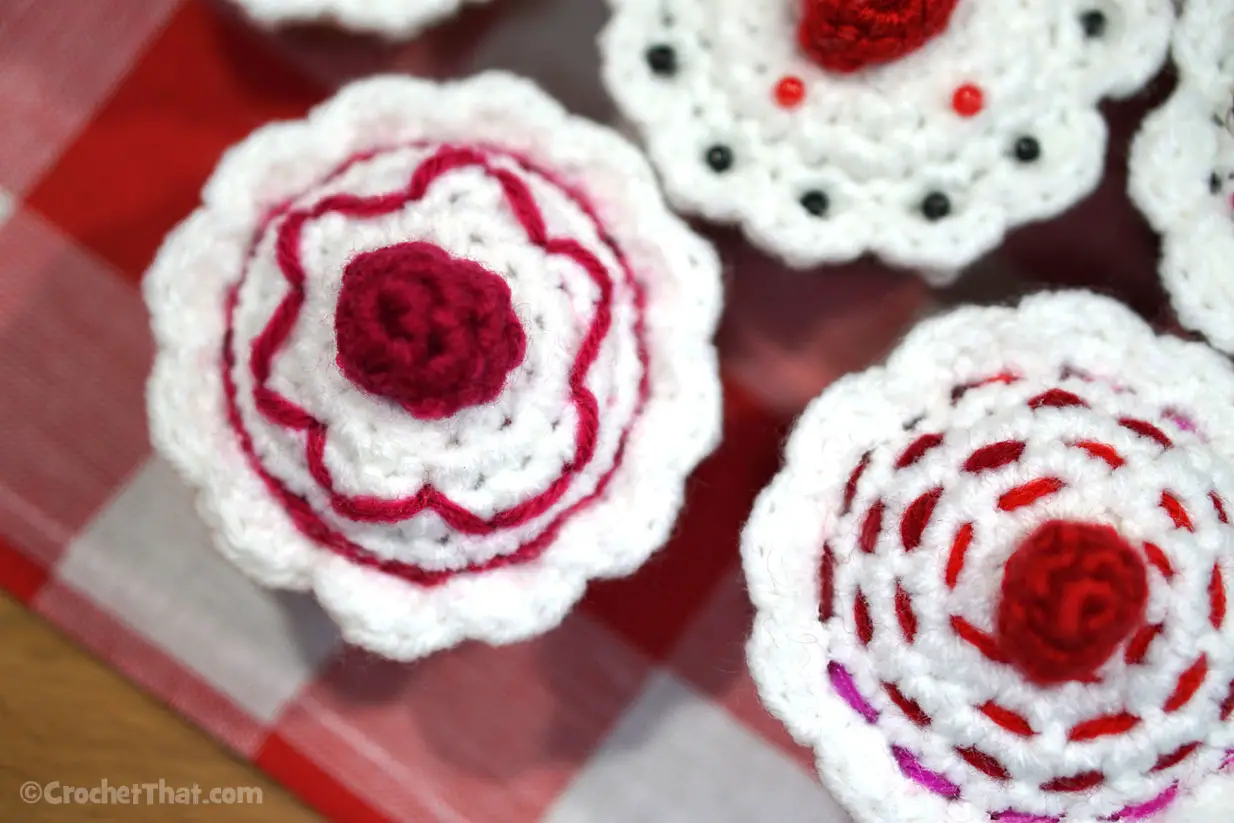

I used a yarn needle to sew basic stitches on the cupcakes tops before starting to crochet the “cake” bottoms. On the original pattern she has you attach the base yarn after Round 7 to start the cupcake bottom and then sew your embellishments on the top.
I would suggest not doing this and wait to attach the yarn after you have your embellishments done. Also, although the pattern suggests to keep the yarn tails and use them as stuffing, I found that they got in the way and suggest you may want to cut them off as you go and just keep the tails short.
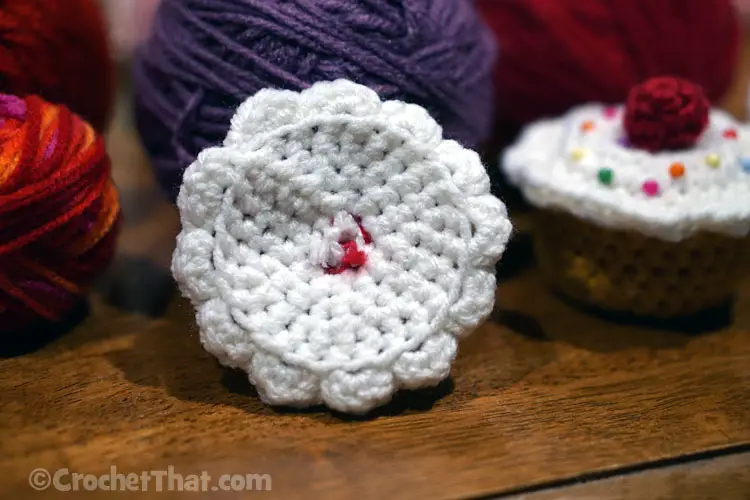
Other than these slight suggestions, her instructions are great.
Original Pattern from Repeat Crafter Me
Cupcake Pattern: Starting with white yarn Magic ring, chain 1 and make 6 SC in ring, pull tight and join, chain 1
Round 2: 2 SC in each stitch around, join, chain 1 (12 SC)
Round 3: 2 SC in first stitch, SC in next, repeat around, join, chain 1 (18 SC)
Round 4: 2 SC in first stitch, SC in next 2, repeat around, join, chain 1 (24 SC)
Round 5-6: SC in each stitch around, join, chain 1 (24 SC) Work in front loops only for Round 7
Round 7: In front loops: in next stitch make 3 HDC, slip stitch in next, *3 HDC, slip stitch, repeat from * around, join, fasten off and weave in ends. You have now made 12 scallops. Now working in the back loops from Round 7, attach brown yarn and chain 1
Round 8: SC in each stitch around, join, chain 1 (24 SC)
Note: At this point you will want to attach your sprinkles and cherry
Round 9-12: working in both loops, SC in each stitch around, join, chain 1 (24 SC)
Round 13: working in back loops only, SC in each stitch around, join, chain 1 (24 SC)
Round 14: working in both loops again, SC Decrease, SC, repeat around, join, chain 1
Round 15: SC decrease until closed! Be sure to stuff with poly-fil before completely closing cupcake. I actually used all of my long yarn ends to stuff it. After weaving in your ends, there is not need to trim them. They make great stuffing!
Cherry pattern: With red yarn Magic ring, chain 1 and make 4 SC in ring, pull tight and join, chain 1 Round 2: 2 SC in each stitch around, join, chain 1 (8 SC) Round 3: SC in each stitch around, join, chain 1 (8 SC) Round 4: SC decrease until closed Use loose ends to stuff and sew onto top of cupcake
To decorate my cupcakes, I used small beads and yarn. I sewed individual small beads on one of the cupcake tops but that got time consuming so I glued the small beads onto the matching “yellow” cupcake and then the chocolate cupcake. For chocolate sprinkles I just used sewed short stitches using three different matching yarns. The ribbon pattern is also just yarn, woven in and out using a yarn needle. Just use regular cupcake or donuts as inspiration for your crochet cupcakes.


